How to Fix Foggy Headlights Without a Kit
Foggy headlights not only make your car look older, but they also pose a safety risk by reducing your visibility on the road. Fortunately, learning how to fix foggy headlights without a kit is simple, cost-effective, and can be done with items you likely already have at home. In this guide, we’ll show you exactly how.
Why Do Headlights Become Foggy?
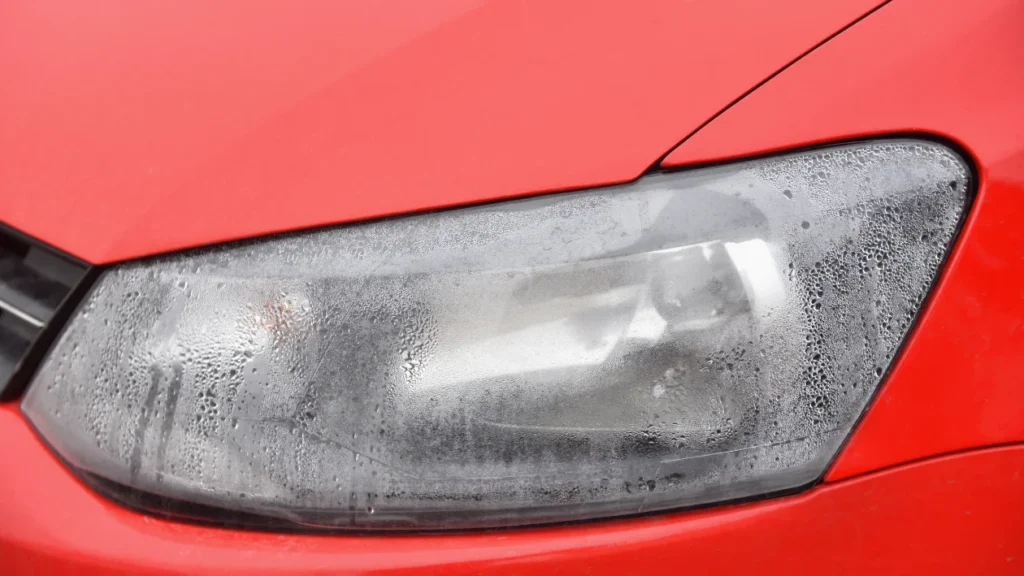
Over time, headlights become foggy due to exposure to UV rays, dirt, and chemicals. This leads to oxidation, which gives them that cloudy appearance. While headlight restoration kits are available, you don’t necessarily need one. Instead, we’ll teach you how to fix foggy headlights without a kit using simple household materials.
Materials You’ll Need to Fix Foggy Headlights Without a Kit:
- Toothpaste (preferably with baking soda)
- Baking soda (optional for stronger abrasiveness)
- Microfiber cloth or soft sponge
- Water spray bottle or hose
- Masking tape (to protect surrounding areas, optional)
- Car wax (for protection, optional)
Step-by-Step Guide: How to Fix Foggy Headlights Without a Kit
1. Clean the Headlights Thoroughly
First, it’s crucial to clean the headlights before starting the restoration. Use soap and water to remove dirt and grime. By cleaning the surface first, you ensure you don’t scratch the headlights during the process. Once clean, dry them completely.
2. Apply Toothpaste to Restore the Headlights
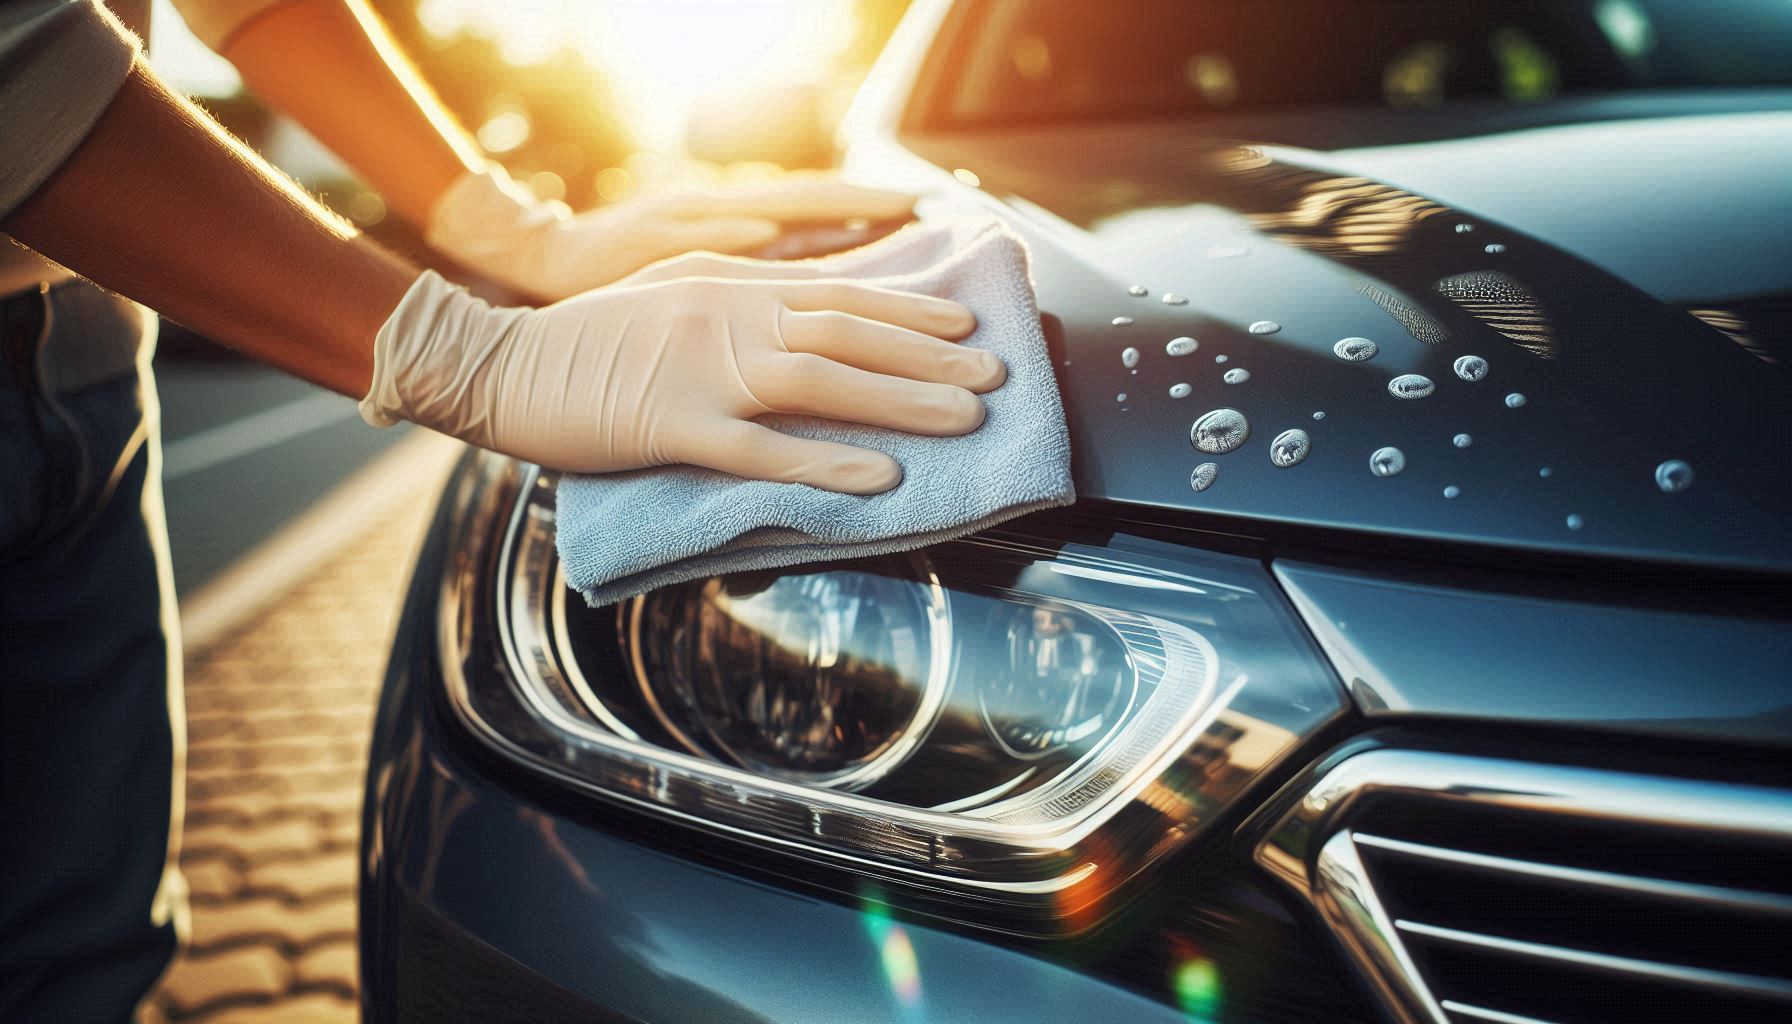
Next, squeeze a generous amount of toothpaste onto a microfiber cloth or sponge. The mild abrasives in the toothpaste will help sand away the oxidized layer that causes the fogginess. If you want a bit more cleaning power, consider adding some baking soda to the mix. This method is one of the best ways to understand how to fix foggy headlights without a kit.
3. Scrub in Circular Motions
Now, use circular motions to rub the toothpaste across the entire surface of the headlight. This process should take about 5 to 10 minutes per headlight, ensuring that you cover all the foggy areas. The abrasive properties of the toothpaste will break down the cloudy layer effectively. This is an essential part of how to fix foggy headlights without a kit, so take your time with it.
4. Rinse and Buff the Headlights
Once you’ve thoroughly scrubbed the headlights, rinse off the toothpaste using a water spray bottle or hose. After rinsing, use a clean microfiber cloth to dry and buff the headlights, ensuring there’s no residue left behind. At this point, you’ll already see a significant improvement.
5. Optional: Apply Car Wax for Extra Protection
While this step is optional, applying a thin layer of car wax to your headlights will help protect them from future oxidation. Wax acts as a barrier against UV rays and other elements, keeping your headlights clear for longer. Including this step when learning how to fix foggy headlights without a kit will ensure long-lasting results.
Why This Method Works So Well
Many drivers wonder how to fix foggy headlights without a kit, and this method is incredibly effective because of the mild abrasives in toothpaste. These abrasives remove the oxidized layer without damaging the underlying plastic. Additionally, this approach is budget-friendly and uses materials you already have at home, making it both convenient and economical.
How Often Should You Restore Your Headlights?
Now that you know how to fix foggy headlights without a kit, it’s important to maintain the clarity of your headlights. Depending on your environment and how often your car is exposed to sunlight, you may need to repeat this process every few months. Regular cleaning and applying car wax can help prolong the time between restorations.
Conclusion: Why Fixing Foggy Headlights Without a Kit is Easy and Effective
In conclusion, learning how to fix foggy headlights without a kit is a straightforward process that can save you money and improve your car’s appearance and safety. By using household items like toothpaste and a bit of elbow grease, you can restore your headlights to like-new condition. Best of all, you don’t need to buy an expensive restoration kit to do it. Try this simple method today and enjoy the difference it makes on your next nighttime drive!
For more DIY car care, you might want to read about our related post on how to fix peeling car paint.

