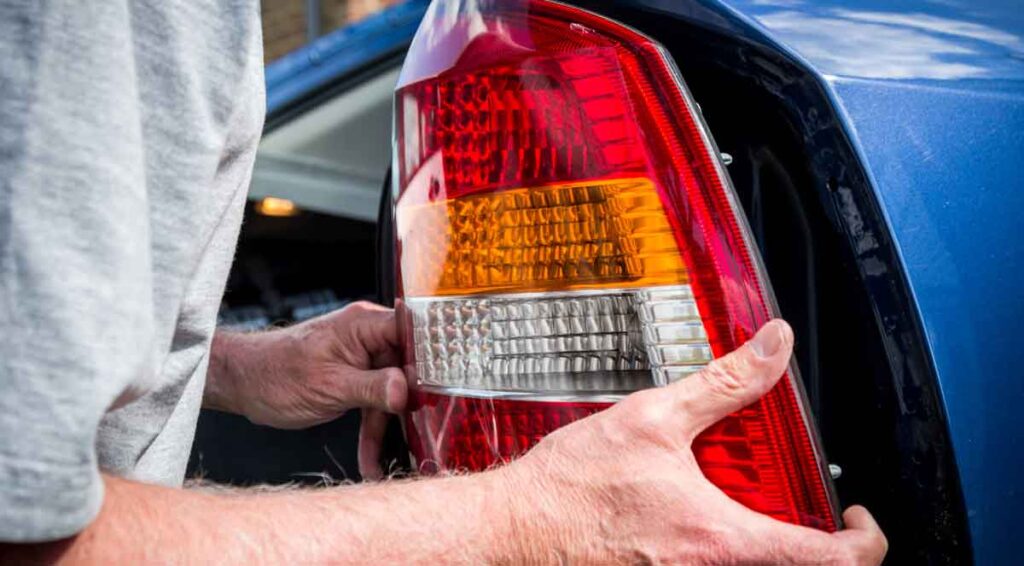
How to Replace a Broken Tail Light Cover on a Honda CR-V

If you’re wondering how to replace a broken tail light cover on a Honda CR-V, you’re in the right place. While it might seem like a job for a mechanic, this is something you can easily do yourself. In this guide, we’ll explain each step to ensure you get the job done quickly and efficiently. Not only will this save you money, but it will also help you avoid potential issues on the road.
Why It’s Important to Replace a Broken Tail Light Cover on a Honda CR-V
Driving with a broken tail light cover can lead to significant problems. First, a cracked cover can allow water and debris to get inside, which may damage the tail light bulb and electrical components. Furthermore, driving with a damaged tail light could result in a fine, as it’s essential for visibility and safety.
What You Need to Replace a Broken Tail Light Cover on a Honda CR-V
Before you start, it’s crucial to gather all the tools needed to replace the tail light cover. You’ll need the following:
- Flathead screwdriver
- Phillips-head screwdriver
- Socket wrench (8mm or 10mm, depending on your model)
- Replacement tail light cover for your Honda CR-V
- Gloves (optional)
Having everything ready ensures that the replacement process goes smoothly, without unnecessary interruptions.
Step-by-Step Guide: How to Replace a Broken Tail Light Cover on a Honda CR-V
Now, let’s get into the details of replacing a broken tail light cover on a Honda CR-V. Follow these steps to ensure a successful repair:
Step 1: Access the Tail Light Assembly
To begin, open the rear hatch of your Honda CR-V. Then, remove the interior panel or plastic cover near the tail light assembly. This will allow you to access the screws or bolts holding the tail light in place.
Step 2: Remove the Screws and Bolts
Next, using the correct screwdriver or socket wrench, remove the screws or bolts that secure the tail light assembly. Keep them in a safe place so that you can easily reinstall the assembly later. At this point, it’s helpful to make sure you don’t misplace any parts.
Step 3: Carefully Pull Out the Tail Light Assembly
Once you’ve removed the screws, carefully pull the tail light assembly out of the vehicle. Be cautious, as the light is still connected to the wiring harness. It’s important to avoid damaging these connections while you proceed.
Step 4: Disconnect the Wiring
In this step you’ll disconnect the tail light from the car’s wiring system. Most models have a simple plug you can press and disconnect.
Step 5: Remove the Broken Tail Light Cover
Now that the tail light assembly is free, it’s time to remove the broken cover. Unscrew or unclip the damaged tail light cover from the assembly. Then, dispose of the broken cover properly.
Step 6: Install the New Tail Light Cover
Take the new tail light cover and align it with the assembly. Secure it with screws or clips, depending on your Honda CR-V model. At this point, you’re almost done!
Step 7: Reconnect the Wiring
Once the new cover is in place, reconnect the wiring harness. Double-check that the connection is secure before proceeding to the next step.
Step 8: Reinstall the Tail Light Assembly
Gently slide the tail light assembly back into position on the vehicle. Ensure it lines up properly with the bolt holes. Once everything is aligned, use the screws or bolts you removed earlier to secure it in place.
Step 9: Test the Tail Light
After everything is reassembled, test the tail light to ensure it’s functioning properly. Turn on your lights, check the brake light, and use the turn signals. If everything works, congratulations! You’ve successfully learned how to replace a broken tail light cover on a Honda CR-V.
Step 10: Replace the Interior Panel
Lastly, if you had to remove an interior panel, now’s the time to replace it. Make sure it snaps back into place securely.

Final Thoughts
Knowing how to replace a broken tail light cover on a Honda CR-V can save you from costly repairs and potential tickets. Plus, it helps maintain your vehicle’s overall safety. With just a few tools and some basic knowledge, you can handle this task yourself and keep your Honda CR-V in top condition.


